Modeling of characters and the creation of graphic design for mobile game
Recently saw the light of toy-style Tower Defense called Bug Invasion for Windows Phone. In the article the developers share the key points of modeling the bugs and develop the game design.

For creating the game was used two tools: Adobe Photoshop CS5 and Autodesk s Max 2011 3D'.
The first was the stage of the discussion — what GUI elements you want to draw and how they approximately should look like. Based on these discussions created the sketches of the user interface, schematic drawings of the placement of scenery and elements of the game screen, as well as schematic drawings of the characters. Beauty here is small, simple schema.
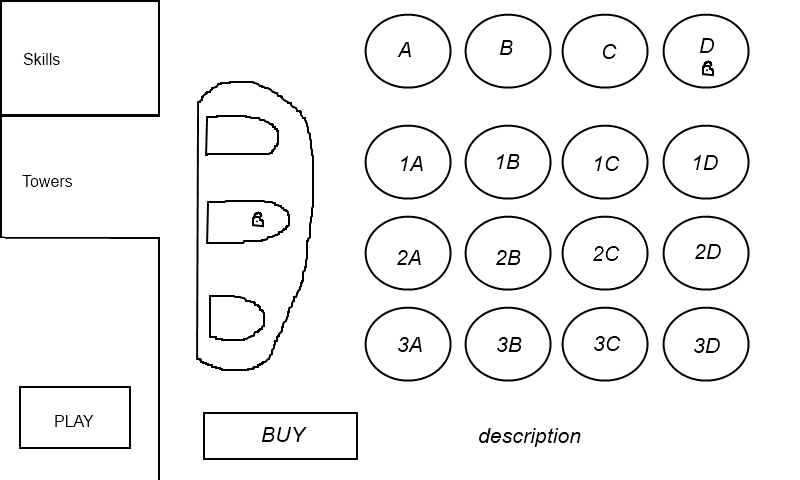
Sketch menu select tower
Game design started with drawing the game background in Adobe Photoshop — drawing flowers, grass, rocks, fences, locations of towers, hills, etc. In the background we cut on two parts, with transparency. The first part — the hill with slots for installation of towers, the upper and lower decorations (so the bugs could go behind a Bush, well, that was fun :-), the second, in fact, the background with green grass and clover.
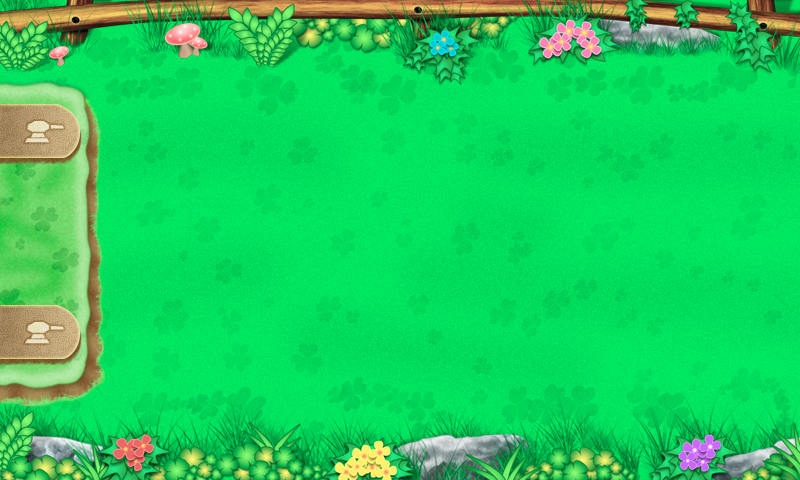
After creating the background it was the turn of elements of the game screen. Such as zone of destruction of mass weapons, as well as buttons, numbers, crosshairs, icons, etc.

That sounds simple, but in reality it is a million times redrawing, dorisovyvali, as she came came new ideas.
Then draw the GUI elements: buttons, menus, skills icons, and tabs ponchiki:

About iconografica: you should never forget that the icons should be clear and intuitive. It is also very important to get into the pixel, making the border of your icons will be clear:
Example not falling shapes in pixel:
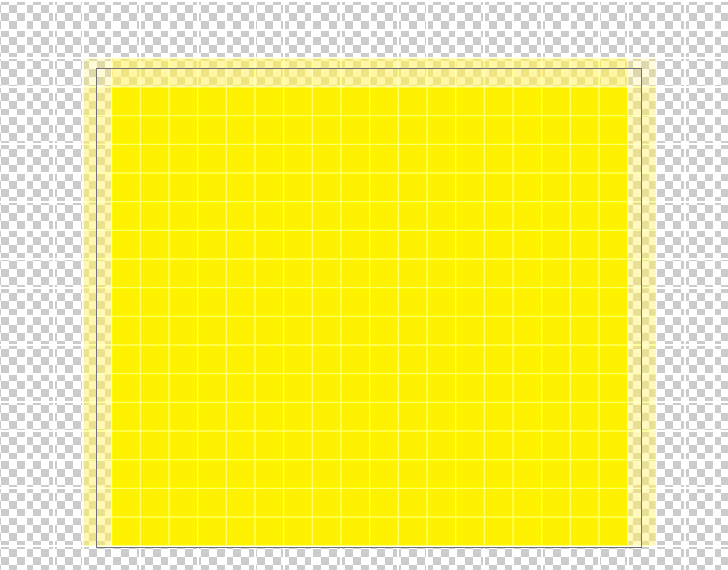
And then we reformed and got:

The result was a full-fledged graphical interface for the game. Nothing complicated, but painfully time-consuming this job is very time consuming and effort. But, when you get an acceptable result, then rejoice and realize that it was worth it.

Next, do the characters in the game in Autodesk 3D's Max. We always remember that characters must be in harmony with the background of the game. The process of character creation is divided into the following stages: sketching, modeling, texturing and animation, well parenteral still need.
Imagine, or look at the picture of the bug and draw on a tablet sketch — this will speed up the modeling process. Create a model of a beetle with a small number of polygons, then they can be smoothed with Mesh Smooth modifier. Next, create the materials for the bug and assigned them to a soulless grey polygon:

The stages of the towers are the same. Only when you animate you need to create additional sources of light down the barrel to simulate a shot and lighting a fire.

For creating characters was used 3D'Autodesk s Max 2011. This method seemed to us best, and faster than drawing each frame for the towers and beetles. In order for the animation of the beetle was continuously used 48 frames. 12 frames on a dying insect, 18 to traffic, 18 for devouring crops. All frames were collected via Photoshop in one sprite. For towers more than the number of frames — 84. 21 the frame to rotate without firing a shot, 21 — at the beginning of the shot tower 21 to display the shot in all its glory, 21 — for the extinction of fire.


For each tower it was necessary to create a particle that was used in the shot. For rendering used Mental Ray Render.
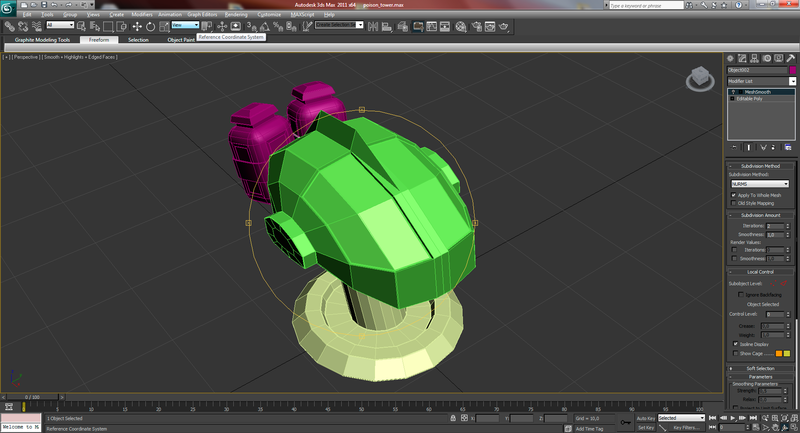
About the animation. If you want the beetle proved to be dynamic and not plastic — pay a lot of attention to detail in the process of animation. For example, when huseni moves, her body shrinks in the center seems a bit inflated; antennae move, and his eyes uvelichivayutsya that, in principle, suggests that it is not easy to crawl quickly :-) This is the simplest example of animation bug.

For some instances, to accelerate the process of animation, you need to configure the system bones (Bones System). The system has simplified the bones on the right animate the legs of a beetle.
It is also important to configure once the scene in 3ds Max with the same lighting (the shadows and lighting of our game objects were identical), set the camera in one position (to the bug or the tower was always the same point)
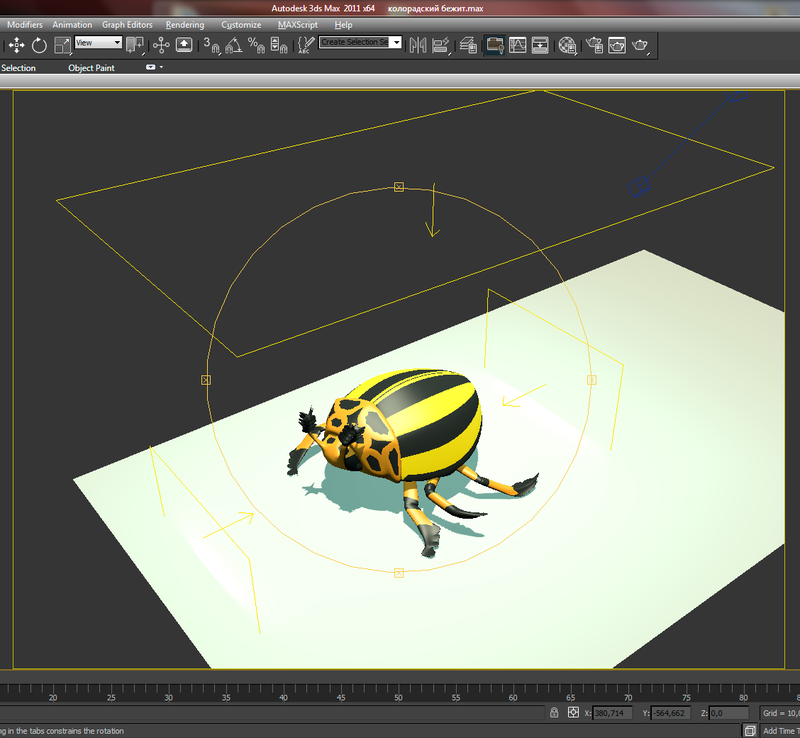
and not least — to adjust the tilting shadows on a plane that is invisible to the renderer using material matte/shadow/reflection.
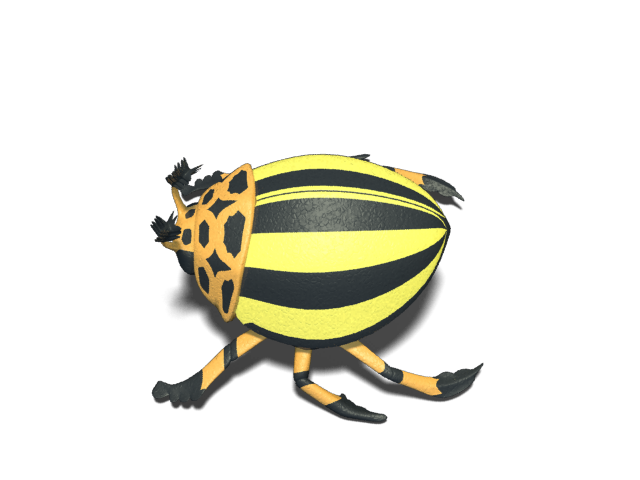
As a result the steering krasivyu a shadow on transparency in the format *.png and not tacky oval spot.
What was the result — watch the video:
It turned out good or bad you be the judge!
Thank you for your attention!
Article based on information from habrahabr.ru

For creating the game was used two tools: Adobe Photoshop CS5 and Autodesk s Max 2011 3D'.
The first was the stage of the discussion — what GUI elements you want to draw and how they approximately should look like. Based on these discussions created the sketches of the user interface, schematic drawings of the placement of scenery and elements of the game screen, as well as schematic drawings of the characters. Beauty here is small, simple schema.

Sketch menu select tower
Game design started with drawing the game background in Adobe Photoshop — drawing flowers, grass, rocks, fences, locations of towers, hills, etc. In the background we cut on two parts, with transparency. The first part — the hill with slots for installation of towers, the upper and lower decorations (so the bugs could go behind a Bush, well, that was fun :-), the second, in fact, the background with green grass and clover.

After creating the background it was the turn of elements of the game screen. Such as zone of destruction of mass weapons, as well as buttons, numbers, crosshairs, icons, etc.

That sounds simple, but in reality it is a million times redrawing, dorisovyvali, as she came came new ideas.
Then draw the GUI elements: buttons, menus, skills icons, and tabs ponchiki:

About iconografica: you should never forget that the icons should be clear and intuitive. It is also very important to get into the pixel, making the border of your icons will be clear:
Example not falling shapes in pixel:

And then we reformed and got:

The result was a full-fledged graphical interface for the game. Nothing complicated, but painfully time-consuming this job is very time consuming and effort. But, when you get an acceptable result, then rejoice and realize that it was worth it.

Next, do the characters in the game in Autodesk 3D's Max. We always remember that characters must be in harmony with the background of the game. The process of character creation is divided into the following stages: sketching, modeling, texturing and animation, well parenteral still need.
Imagine, or look at the picture of the bug and draw on a tablet sketch — this will speed up the modeling process. Create a model of a beetle with a small number of polygons, then they can be smoothed with Mesh Smooth modifier. Next, create the materials for the bug and assigned them to a soulless grey polygon:

The stages of the towers are the same. Only when you animate you need to create additional sources of light down the barrel to simulate a shot and lighting a fire.

For creating characters was used 3D'Autodesk s Max 2011. This method seemed to us best, and faster than drawing each frame for the towers and beetles. In order for the animation of the beetle was continuously used 48 frames. 12 frames on a dying insect, 18 to traffic, 18 for devouring crops. All frames were collected via Photoshop in one sprite. For towers more than the number of frames — 84. 21 the frame to rotate without firing a shot, 21 — at the beginning of the shot tower 21 to display the shot in all its glory, 21 — for the extinction of fire.


For each tower it was necessary to create a particle that was used in the shot. For rendering used Mental Ray Render.

About the animation. If you want the beetle proved to be dynamic and not plastic — pay a lot of attention to detail in the process of animation. For example, when huseni moves, her body shrinks in the center seems a bit inflated; antennae move, and his eyes uvelichivayutsya that, in principle, suggests that it is not easy to crawl quickly :-) This is the simplest example of animation bug.

For some instances, to accelerate the process of animation, you need to configure the system bones (Bones System). The system has simplified the bones on the right animate the legs of a beetle.
It is also important to configure once the scene in 3ds Max with the same lighting (the shadows and lighting of our game objects were identical), set the camera in one position (to the bug or the tower was always the same point)

and not least — to adjust the tilting shadows on a plane that is invisible to the renderer using material matte/shadow/reflection.

As a result the steering krasivyu a shadow on transparency in the format *.png and not tacky oval spot.
What was the result — watch the video:
It turned out good or bad you be the judge!
Thank you for your attention!
Комментарии
Отправить комментарий